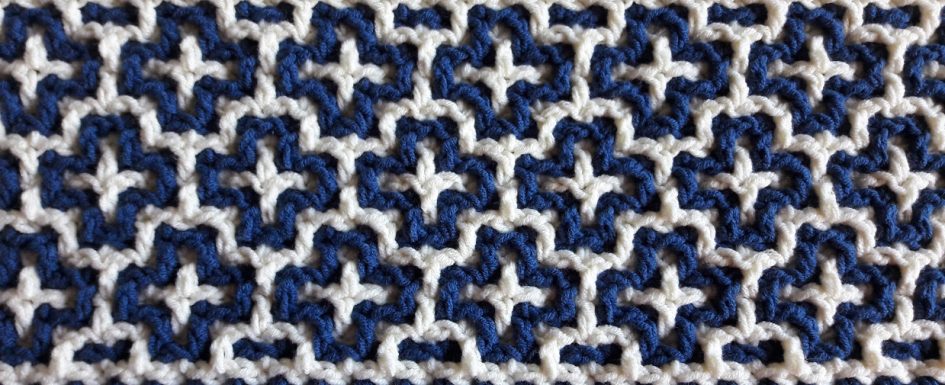
Are you ready?
Because here we go! We will start today with the pattern of the big blanket.
It was so nice to see how you worked on the practice piece. For most of you the start was a doorstep that had to be taken, but almost everyone agreed that once you got it how to do this, it wasn’t very difficult after that. So if you still have doubts, or if you didn’t manage to do it yet, please don’t give up. And maybe you will succeed with the new video’s.
A slightly different way of crocheting row 1
In the first video of this week I show how to do the crocheting of rows 1a and 1b a little bit different. The large number of stitchmarkers would make it hard to weave through, so I figured out a trick for that. Simple, and maybe even simpler than weaving through, but this is probably a matter of personal preference. After this you’ve seen both methods, so you can experience what you like the best.
This method is also especially nice for a long setup row, because you will be doing rows 1a and 1b bit by bit, so that you can check each time over and over again if you’re still going right. So count, count, count, and if you think you’ve counted enough, count again 🙂 .
The stairs around the blanket, and part 2
The pattern of the stairs will go around the entire blanket as a border. You won’t be crocheting this afterwards, so it’s nice to have it right away. This has the advantage that the first couple of rows are nicely familiar, you have done them for the practice piece already, it’s just more stitches 🙂 . With row 4b there will be a change in the pattern. And to keep this first week a little bit more exciting, I will also give you part 2. I’ve added an extra video for the rows 4b to 6b, so you have some extra help with this. And after this this technique should be clear to do. Please watch that second video, all the way from the start to the end, because I show a couple of things there so you won’t get confused.
Aaah, no more video’s after this?
I saw in one of my facebookgroups, that someone thought there would be a new video for each part. But for the next parts I will only provide the patterns and the pictures. It’s just like with ‘ordinary’ filet crochet, once you know how to do this, you just follow a counting pattern. It would be quite dull also…. But you will get the patterns and the pictures of each(!) row, so you have an extra hold.
I do have plans to make some extra video’s. One to go deeper into reading the pattern charts. Quite some people told they needed that. Another wish was for making the blanket wider or smaller. I have to get my mind over that for a while, to see how I can really explain this the best, but the ideas are already getting shaped in my head. And this CAL is also a course about interwoven or locking crochet, and there are 3 other possibilities that you could encounter with other patterns at the bottom, so to finish the course material, that belongs to it also. But you don’t need that for this CAL, so that will get last.
Okay, let’s start!
Here are the links to the pages: part 1 and part 2 <removed>. The tutorials, the downloads, the links to the video’s and the pictures are there.
You can alway go to the overview page, where I provide all links in the release schedule. And you can also find it in the menu under HAL CAL.
Leaves me with just saying: have fun with these first 2 parts.
<Edit January 16 2019: The pattern is no longer available for free. You can buy it from my Ravelry shop (https://www.ravelry.com/patterns/sources/the-craftsteachers-ravelry-store). You can find the bonusweek pattern there also. The pictures for each part (see examples on this page here) are also available from this store: https://the-craftsman.zibbet.com/. >

